Locker Drainage
Project Logs
December 28, 2011
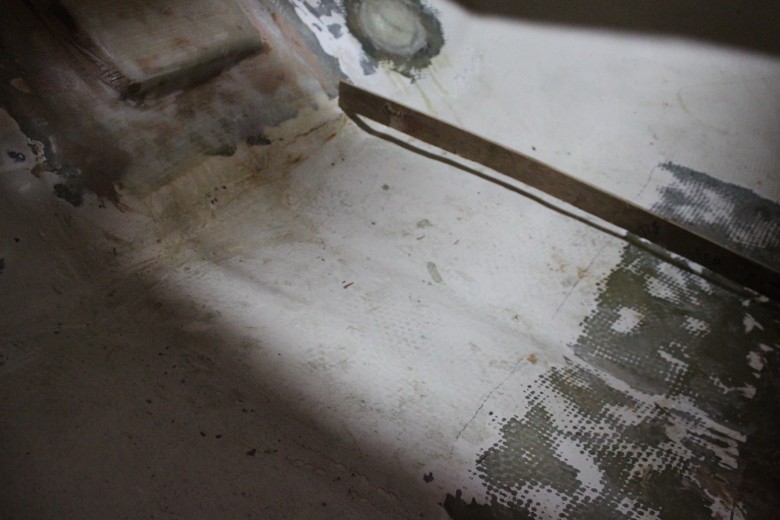
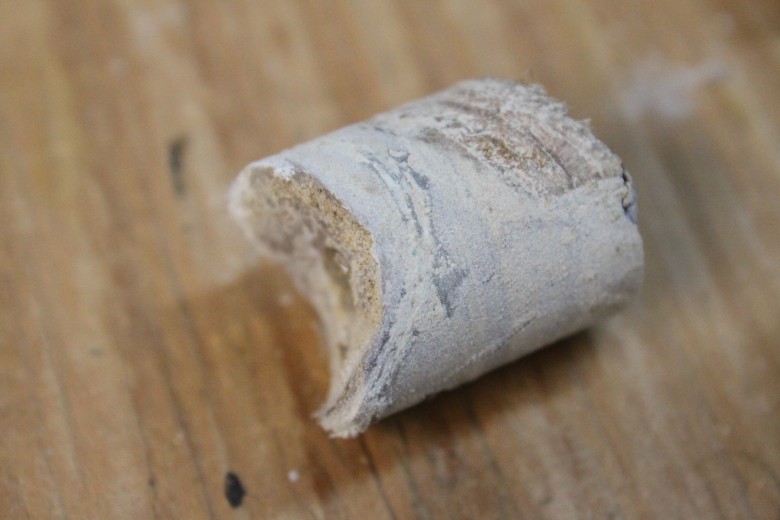
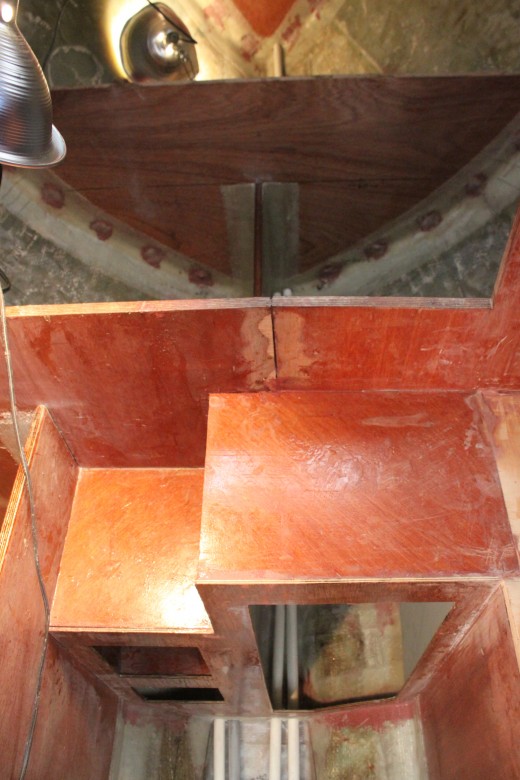
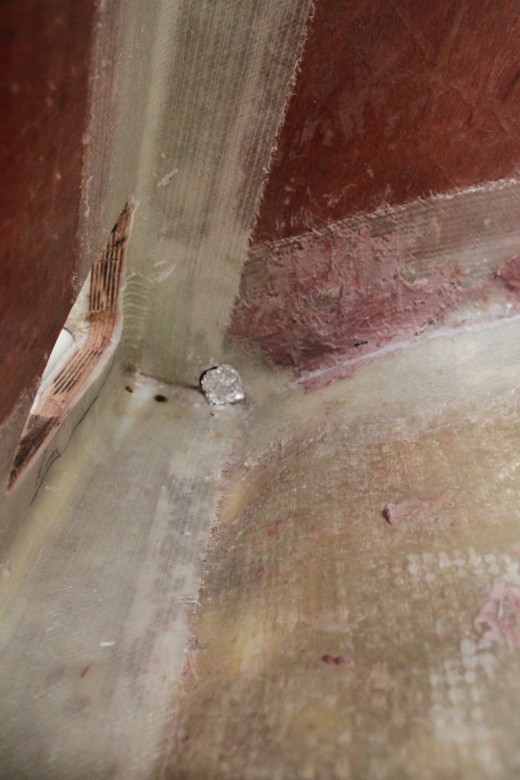
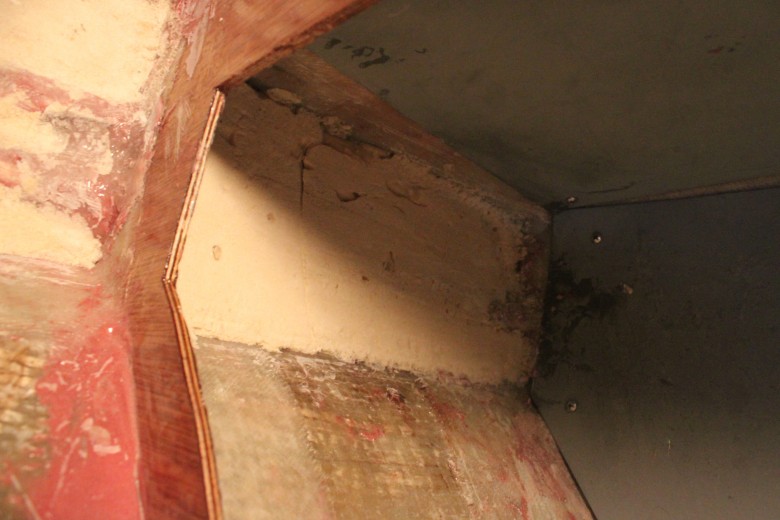
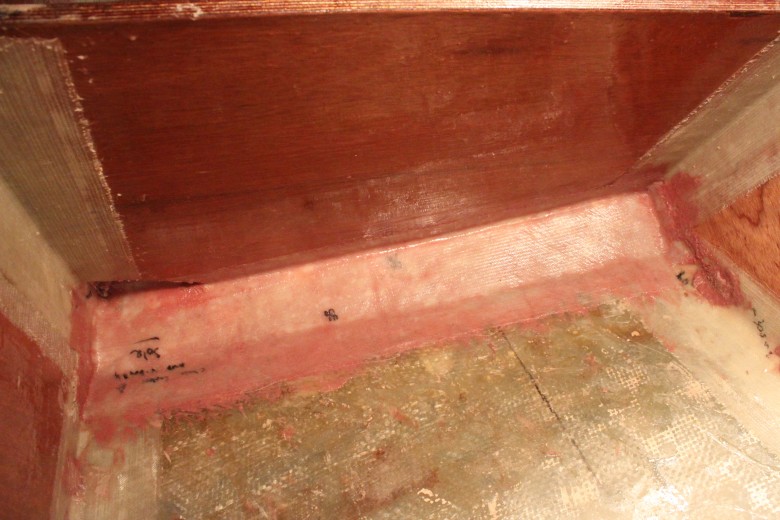
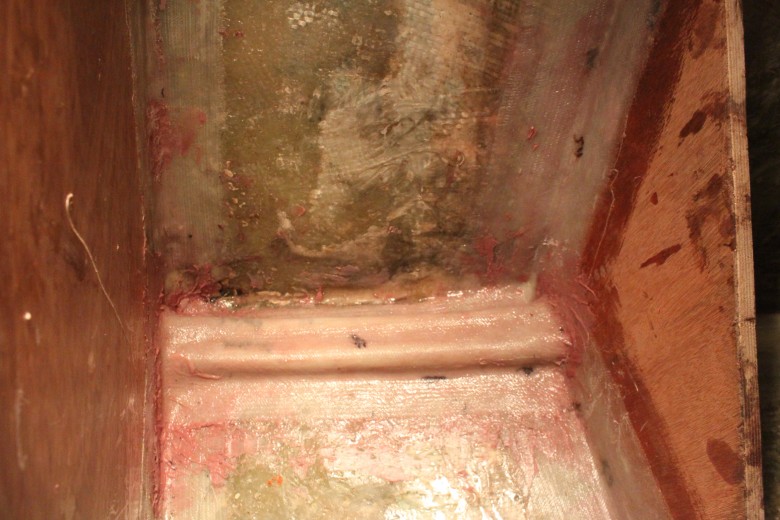
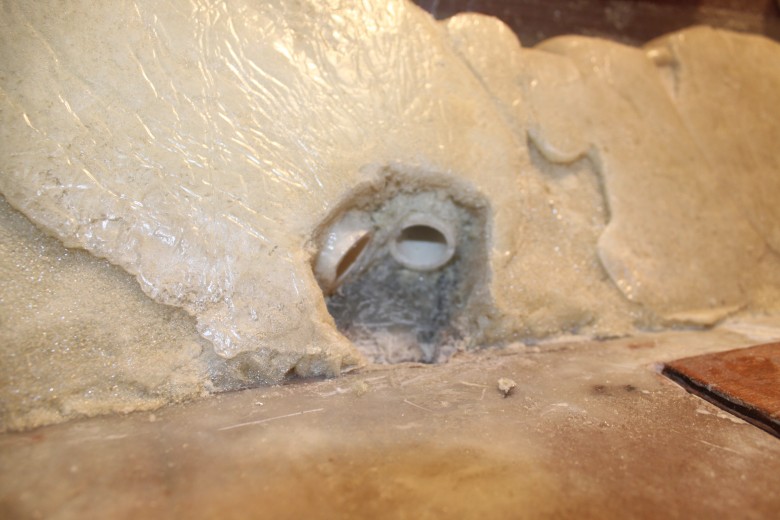
After adding the cockpit bulkhead extension that fully separates the below cockpit area and the engine compartment, I added some halved 3/4″ PVC to allow drainage between the two areas. I don’t anticipate much water draining through the sea lockers nor lazarette, but it’s still important to allow water to freely flow through this non-water tight compartment. Here’s an image of the drainage situation I’ve created:

September 24, 2011
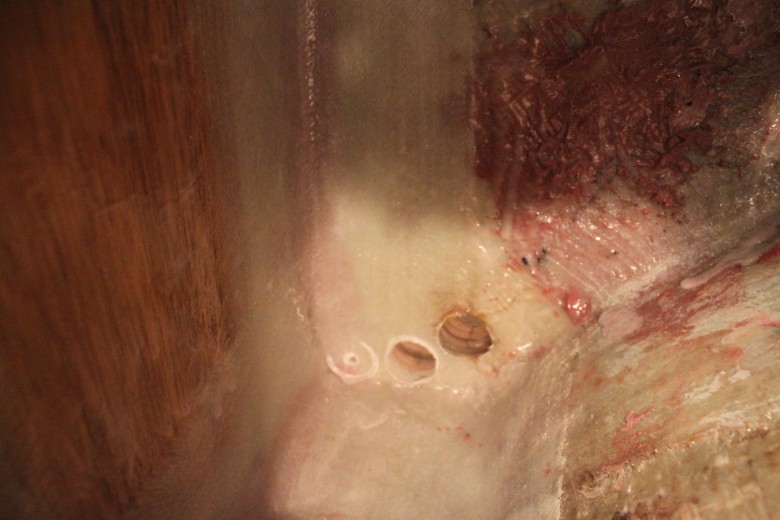
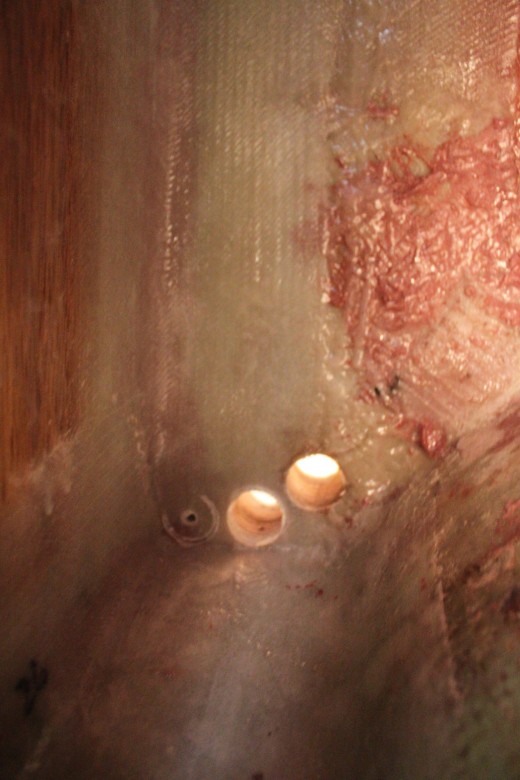
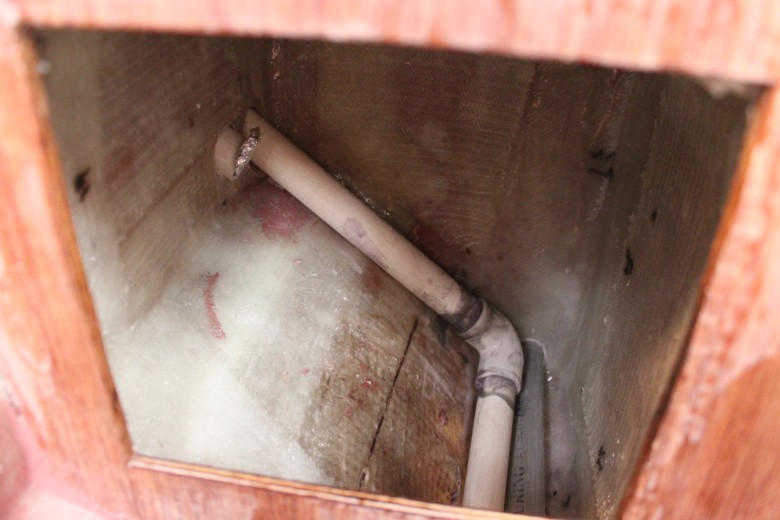
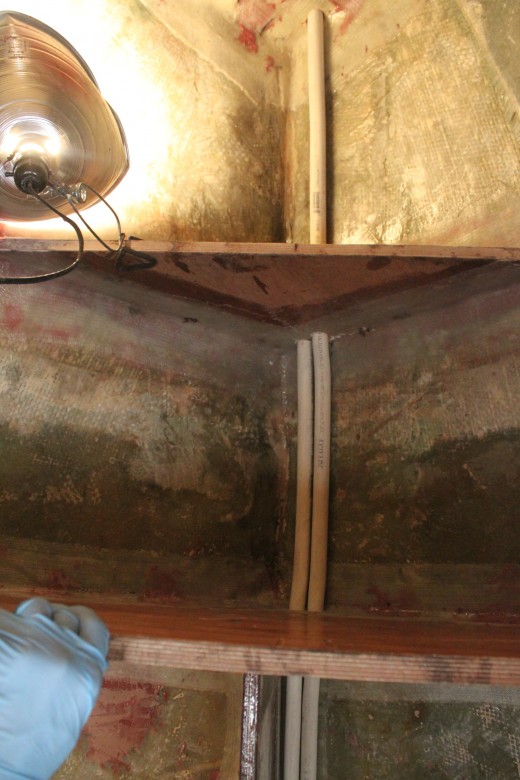
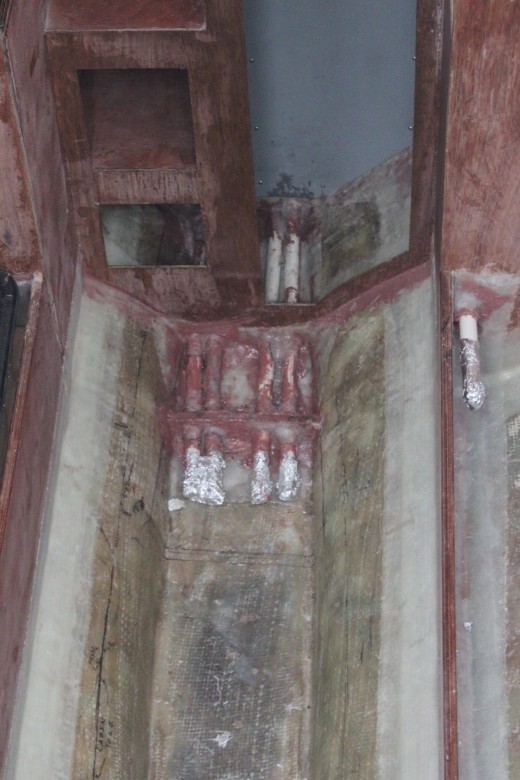
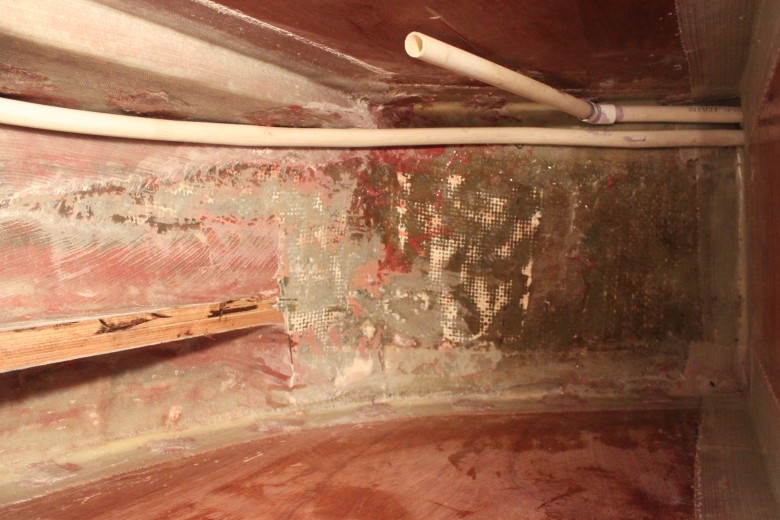
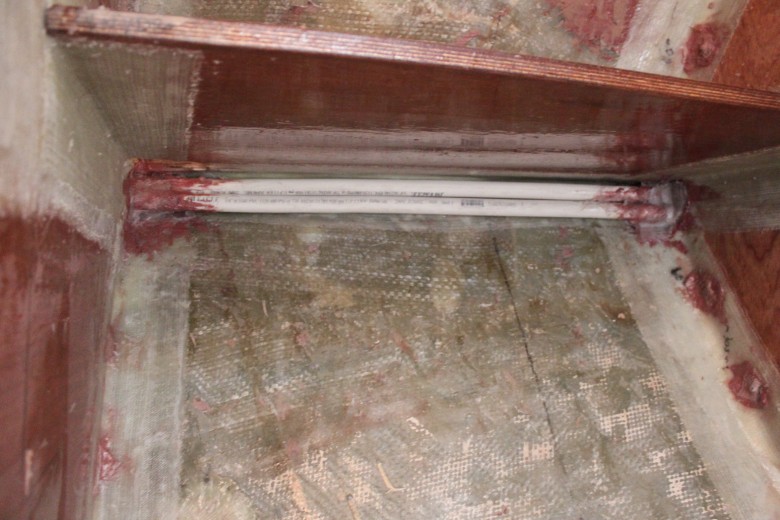
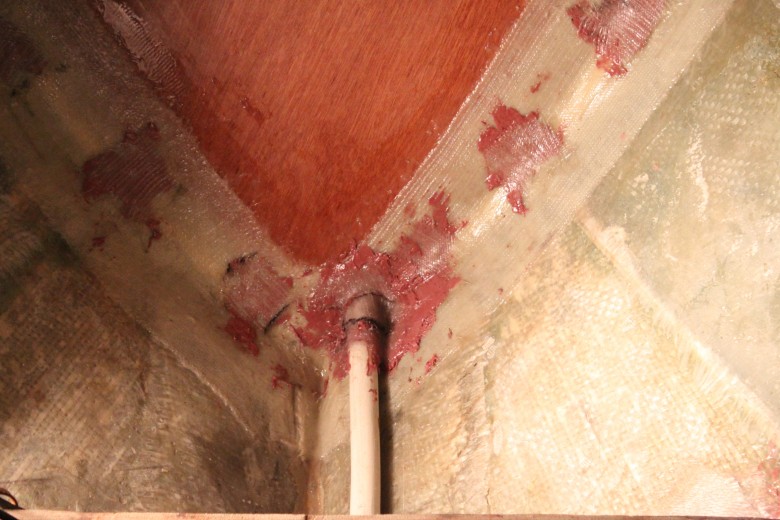
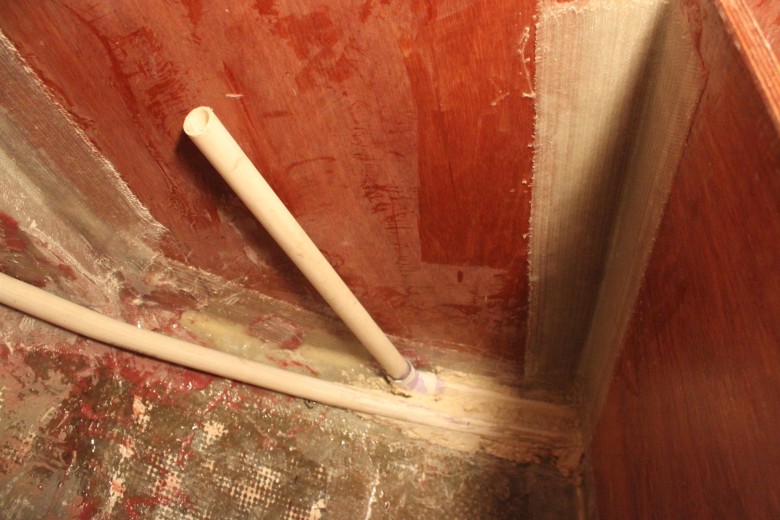
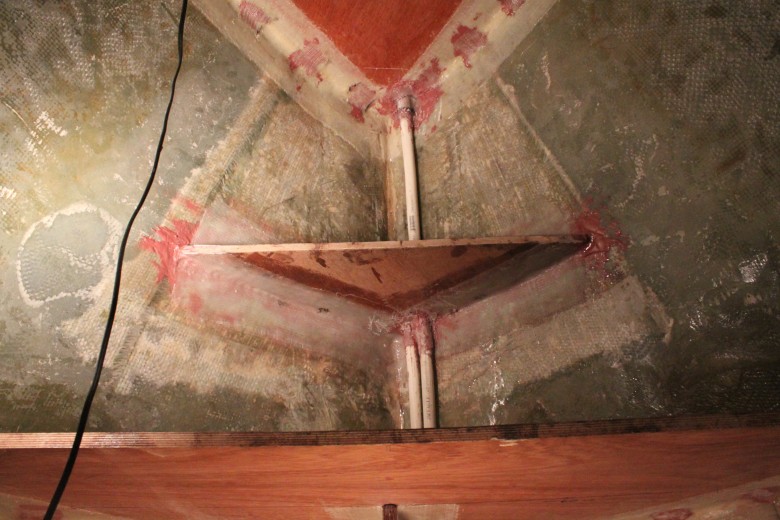
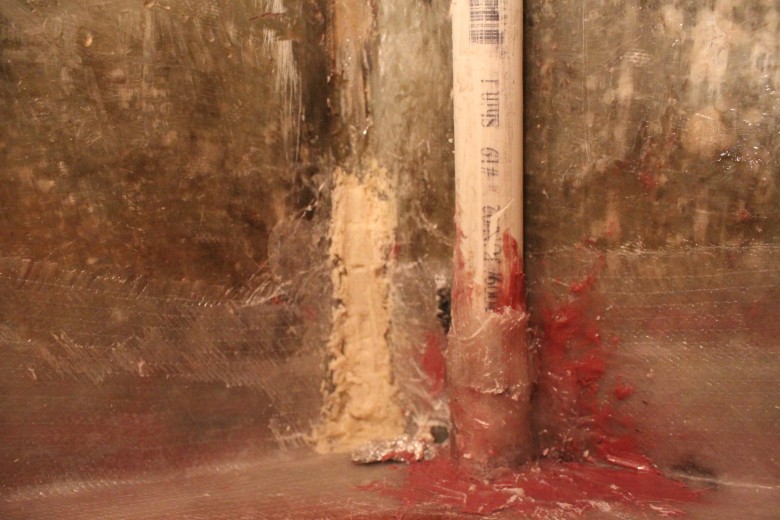
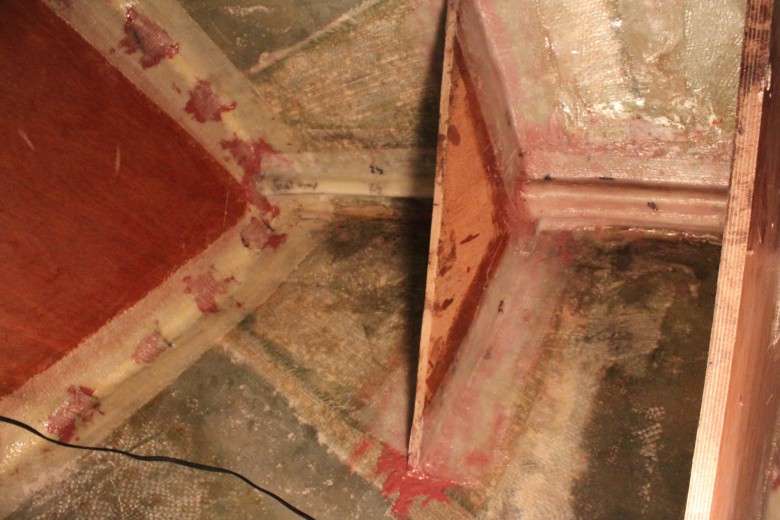
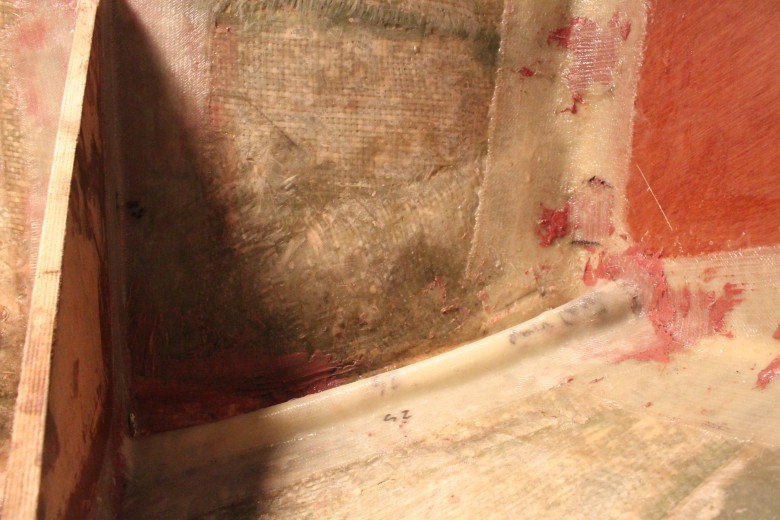
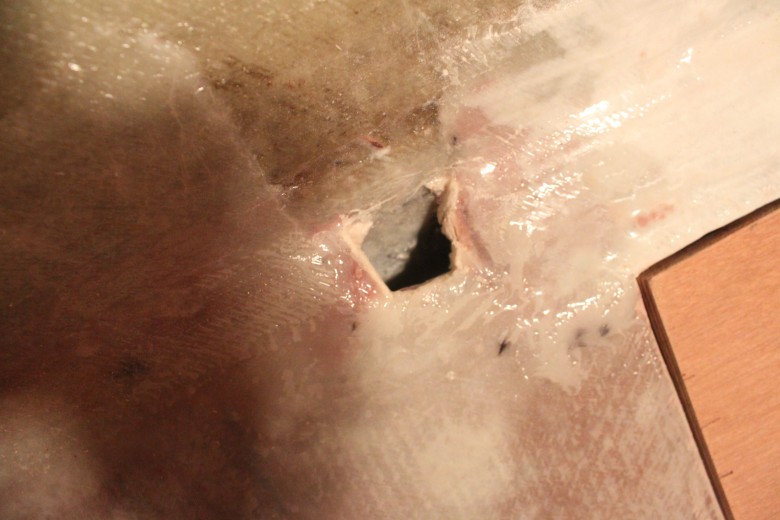
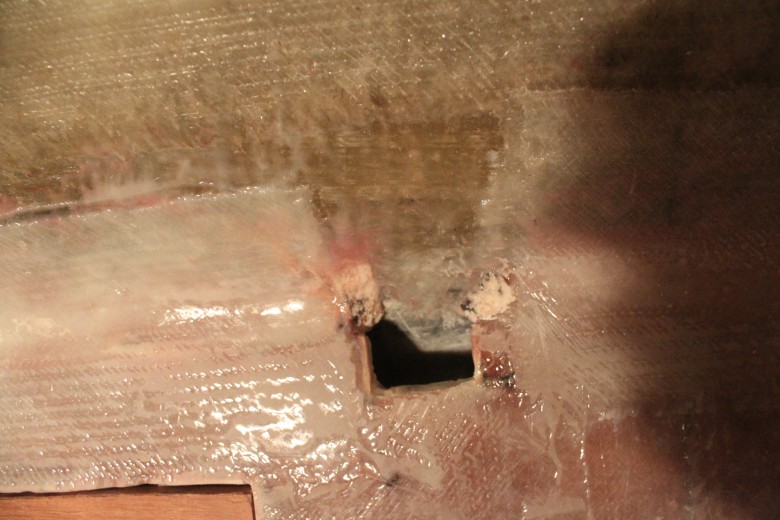
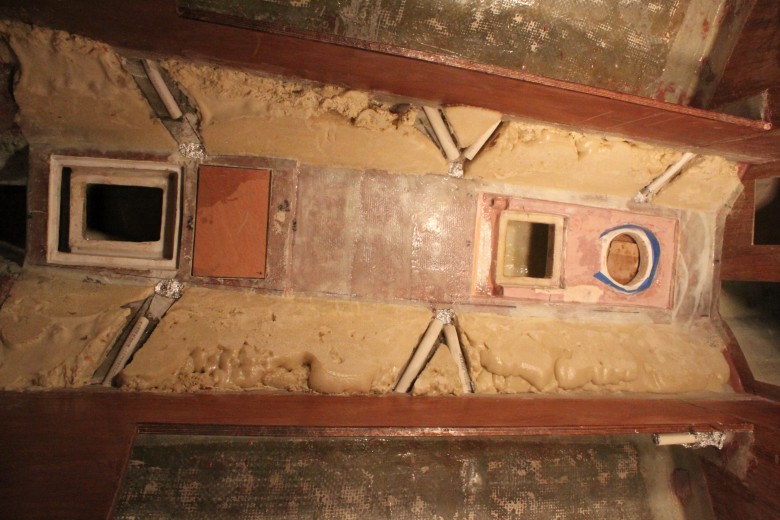
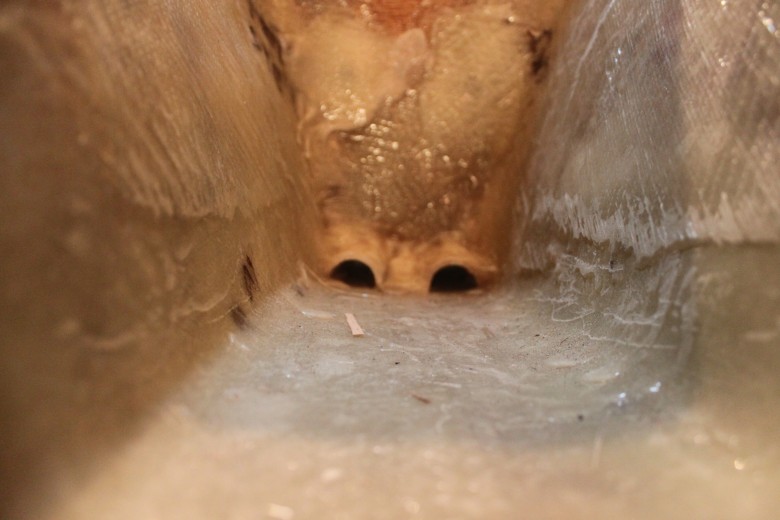
All cabin lockers now have drainage. I used PVC pipe that was drilled through bulkheads, then any location that passed through a bulkhead was thickened and glassed on both sides of the bulkhead. The images I’ve just uploaded will probably give a better idea of how all the drainage works, but to better explain, I’ve added an image of each locker drainage below and described the basic drainage system in the caption:

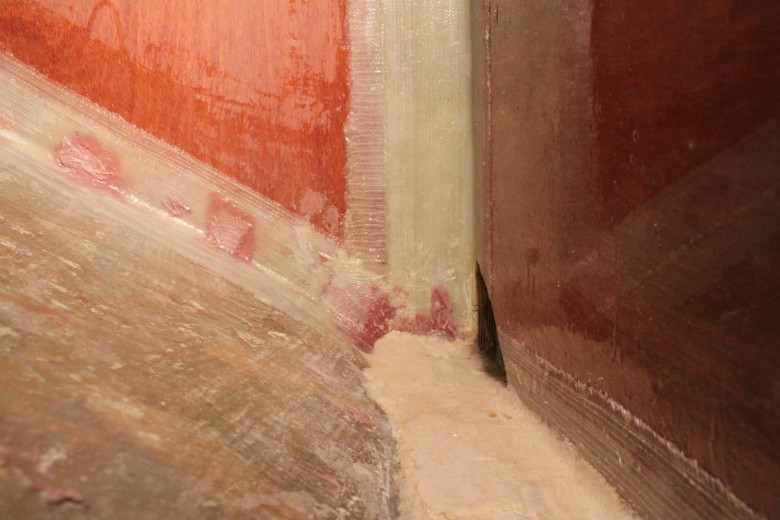
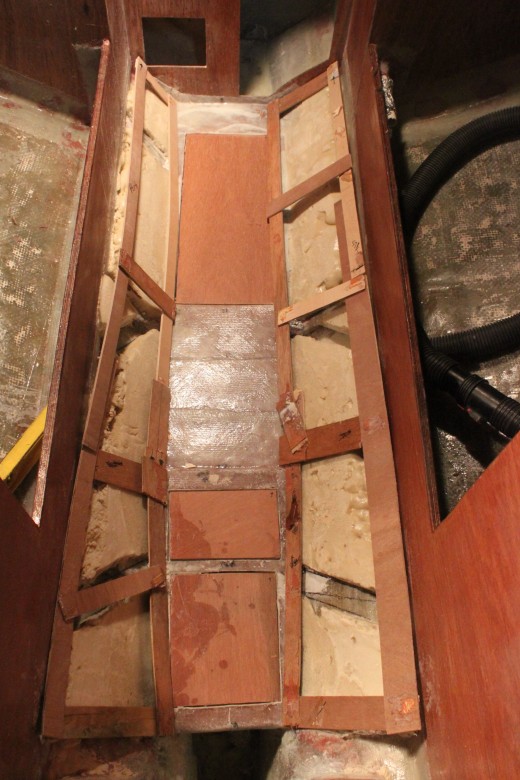
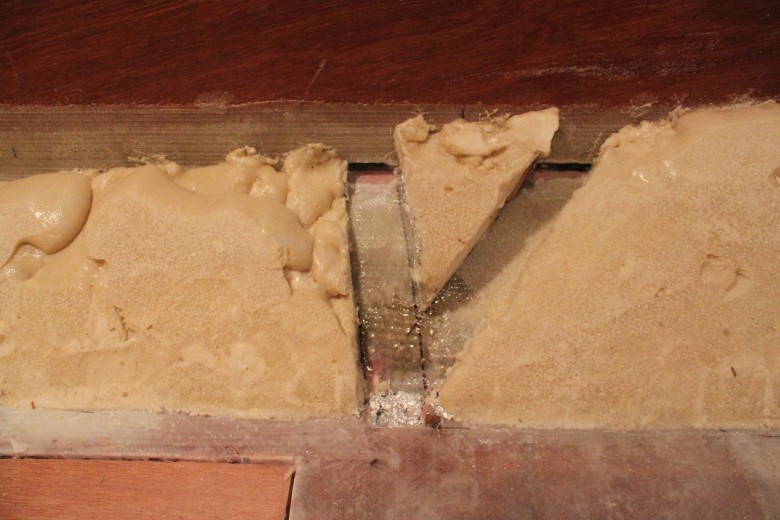
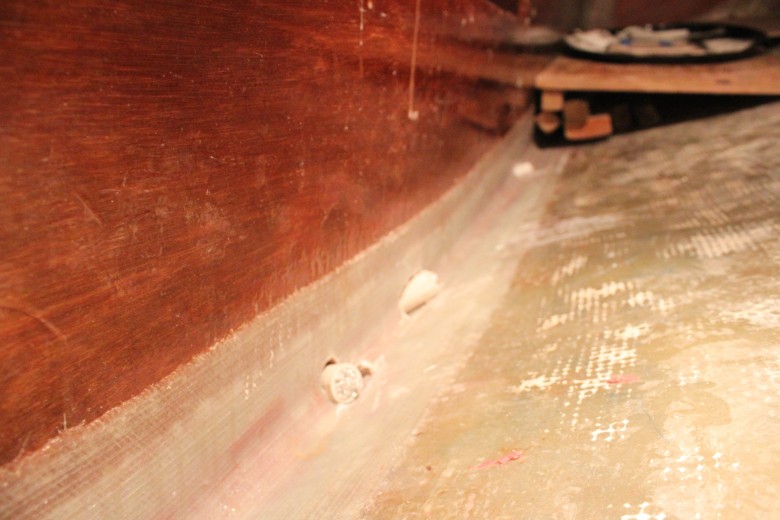
Settee Lockers (6 drains) – These drains were difficult to install, because they needed to drain to the bilge, but also had to follow the contour of the hull. The problem was, the contour of the hull and the cabin sole met at a point where, if I added any additional “space” (e.g. the thickness of the PVC pipe), the cabin sole would have to be pushed towards the center of the boat. In the end, I used foam as a spacer that gave just enough room for the PVC to fit under the cabin sole and when the point between the contour of the hull and the cabin sole met, I built a channel with fiberglass. The channel reduced the height of the drainage so the cabin sole could be positioned where needed, but also allowed the lockers to continue their drainage

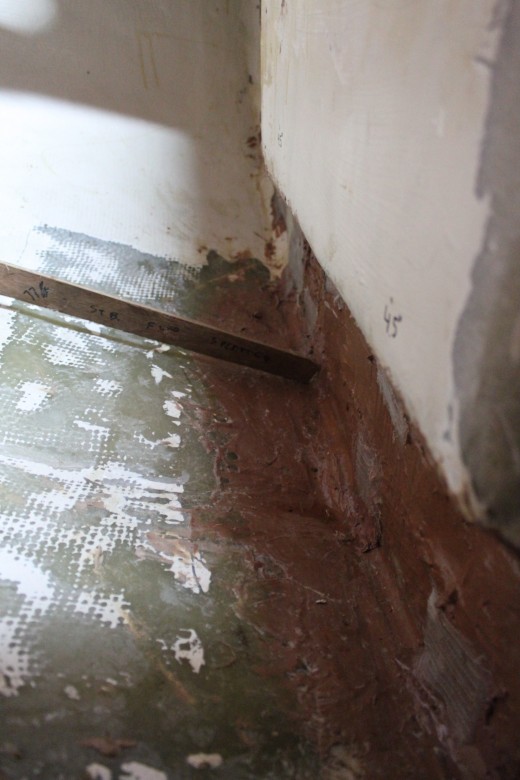
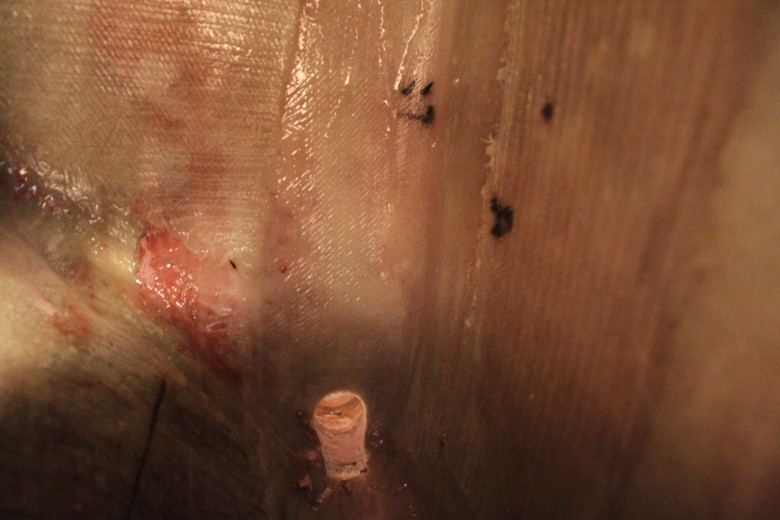
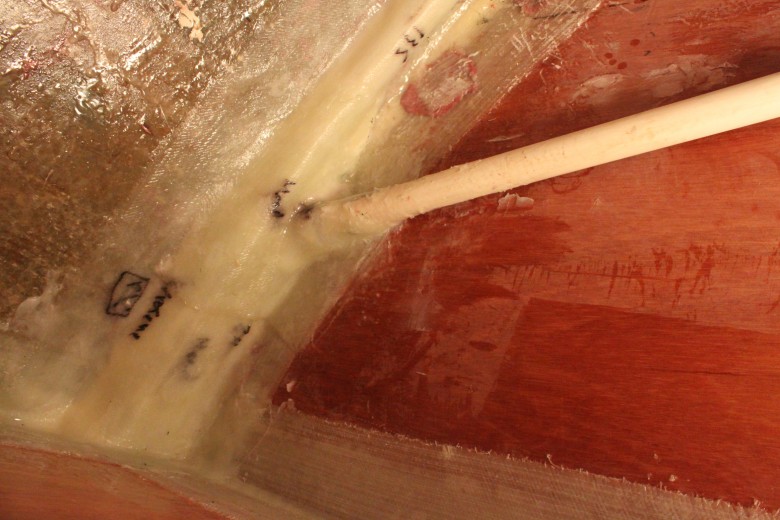
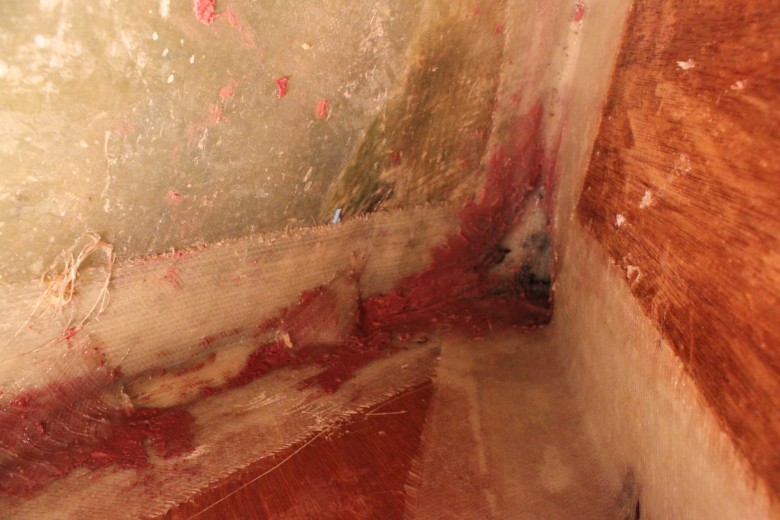
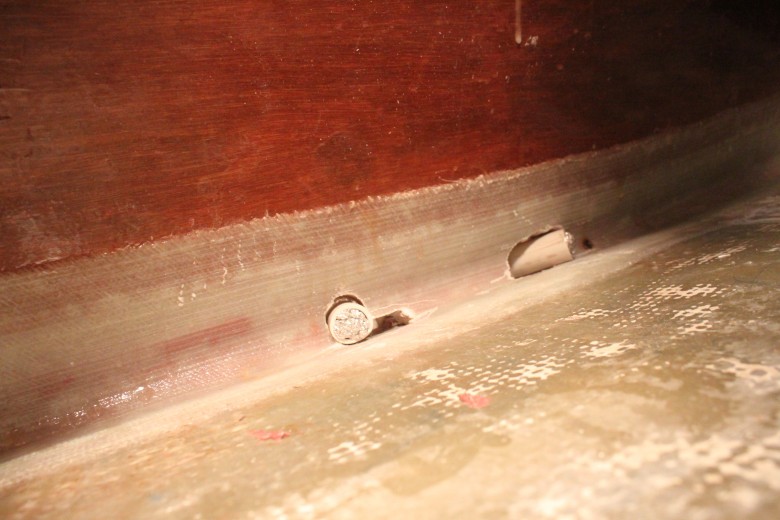
Head Locker (1 drain) – The head drain was also complicated to install, due to the reasons mentioned about the settee locker drains. This image shows the exit of the head locker drain into the bilge.

June 17, 2011
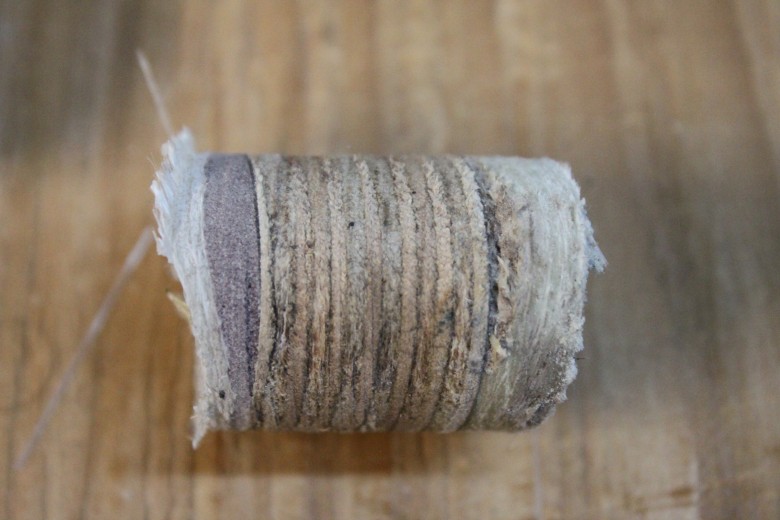
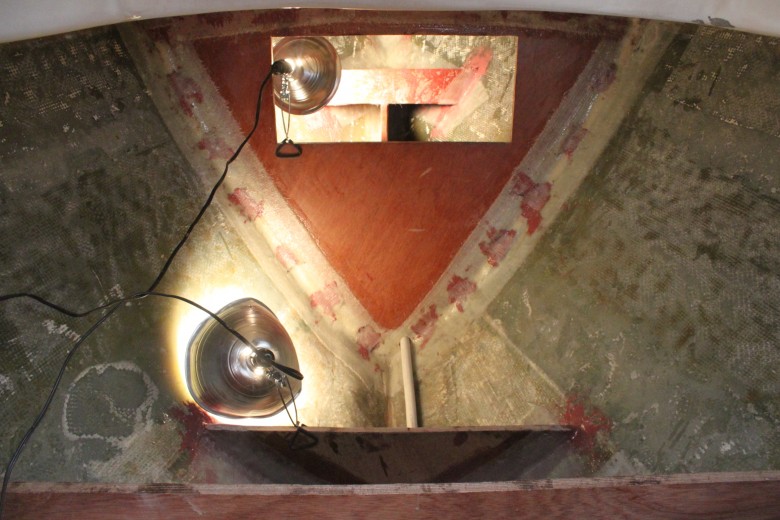
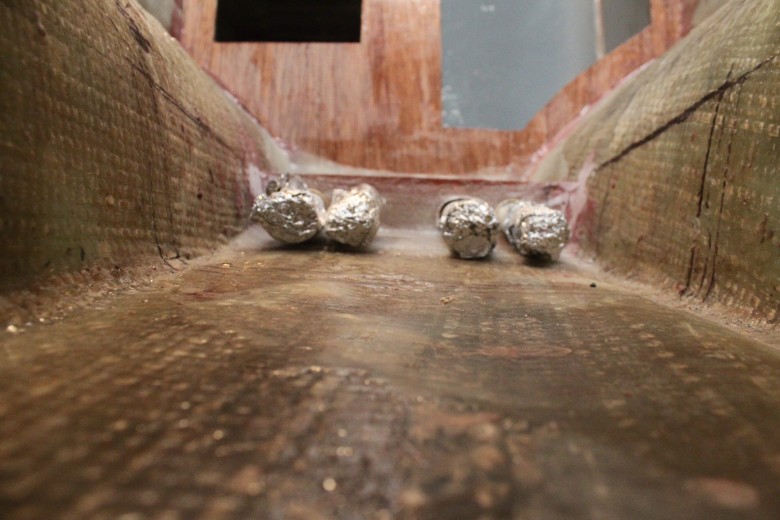
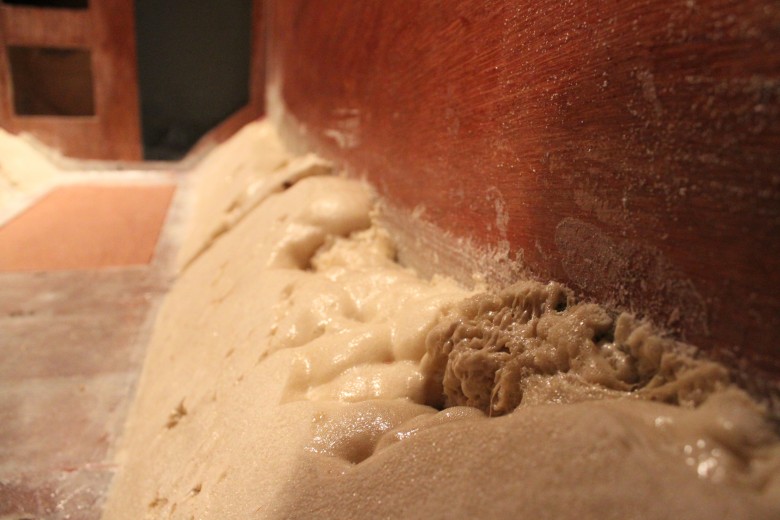
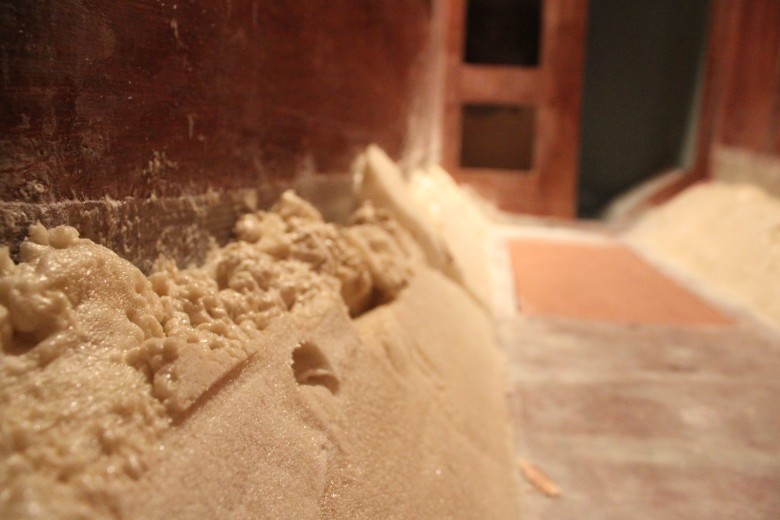
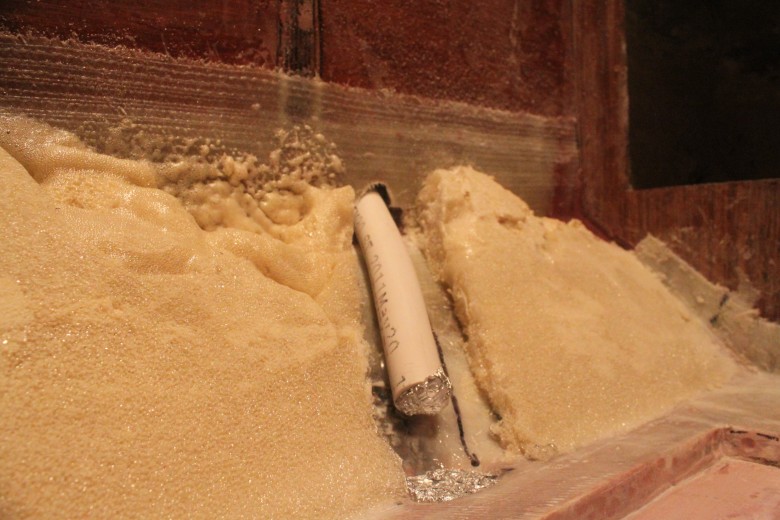
I’ve been able to glass in drainage for the anchor locker, forward v-berth, aft v-berth, head and icebox. That leaves me with the settees, sea lockers, battery compartments and lazarette still to complete. So far, I’ve been quite happy with how the layup process has gone. I decided to use pour foam around the PVC pipes to fill any voids between the pipe and the hull, then put 2 layers of 1708 biaxial over that. Prior to glassing, I used a heat gun to mold the PVC pipes to a shape that better fit the hull. This method proved to work quite well for my purposes.
Image Gallery


Comment Form