Cabin Sole
Project Logs
September 24th, 2011
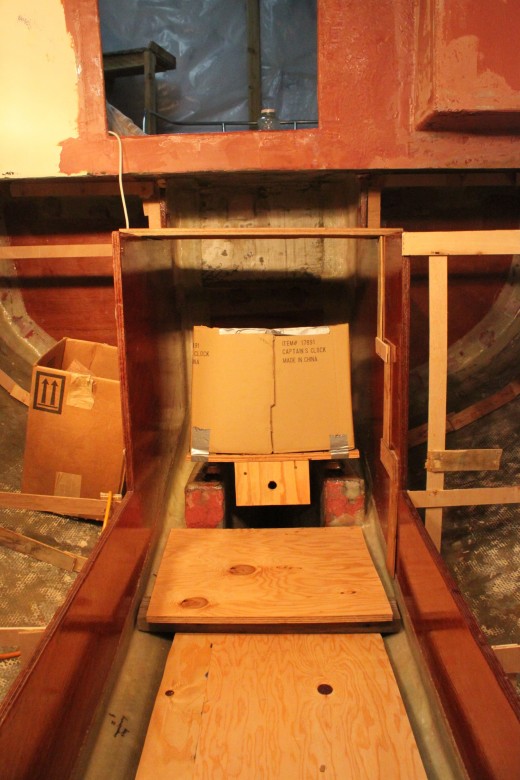
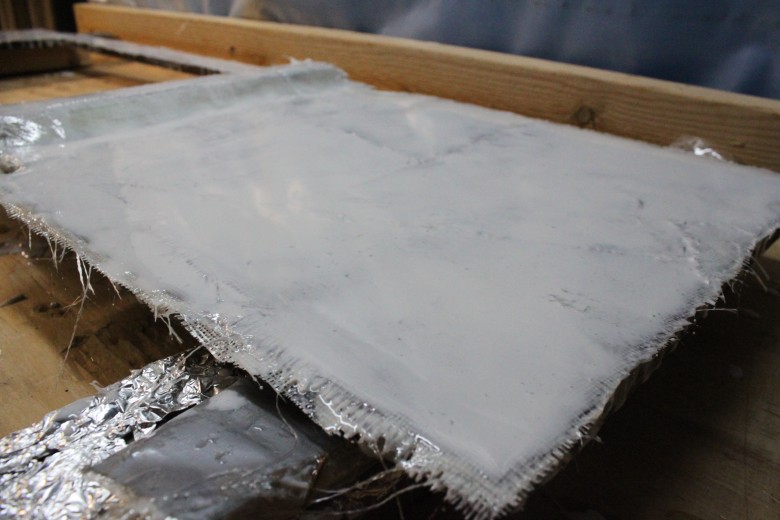
Major construction of the cabin sole is complete. What a great feeling to be able to walk in the boat and get a feel for what the headroom will be. Not only the head room, but also all the areas of the boat which are greatly affected by the location of the cabin sole. I’ve uploaded images of all how the construction looks. At this point, I will be waiting to install the final teak overlay until all boat construction and painting is complete. When I have more time I will update the project logs with specific images and descriptions of how the cabin sole came together and what the challenges were for completing this project.
August 2nd, 2011
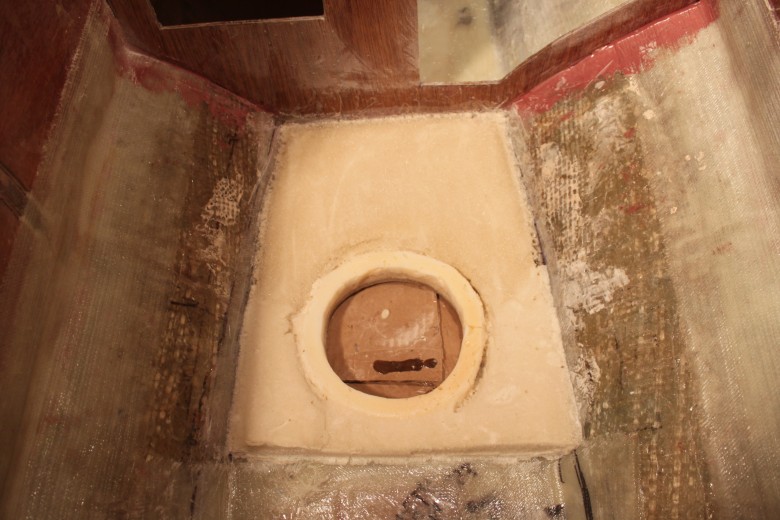
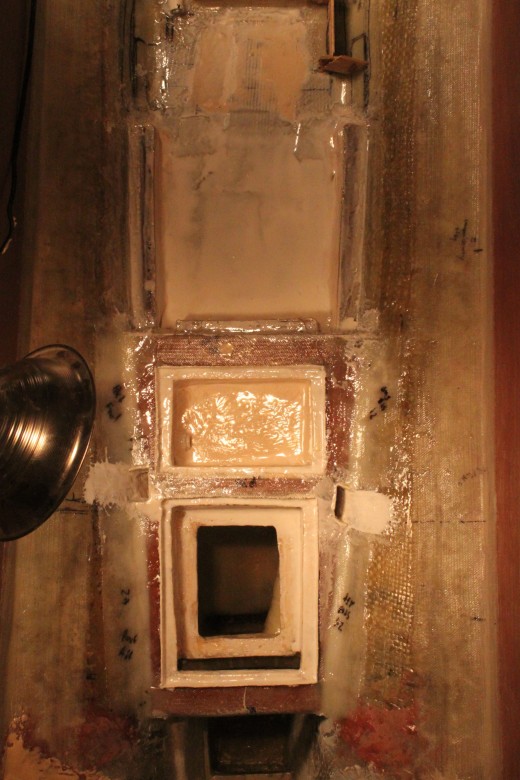
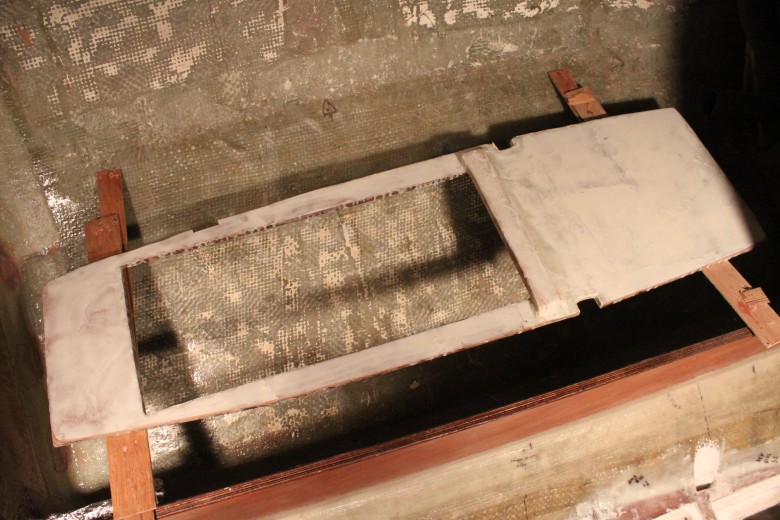
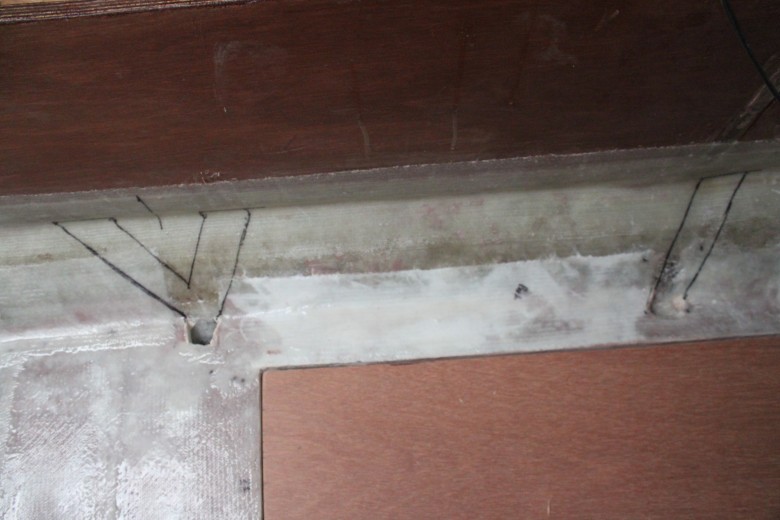
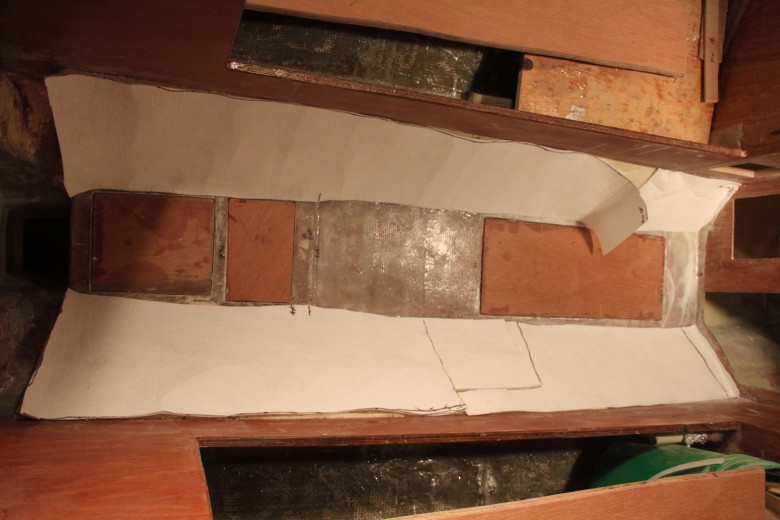
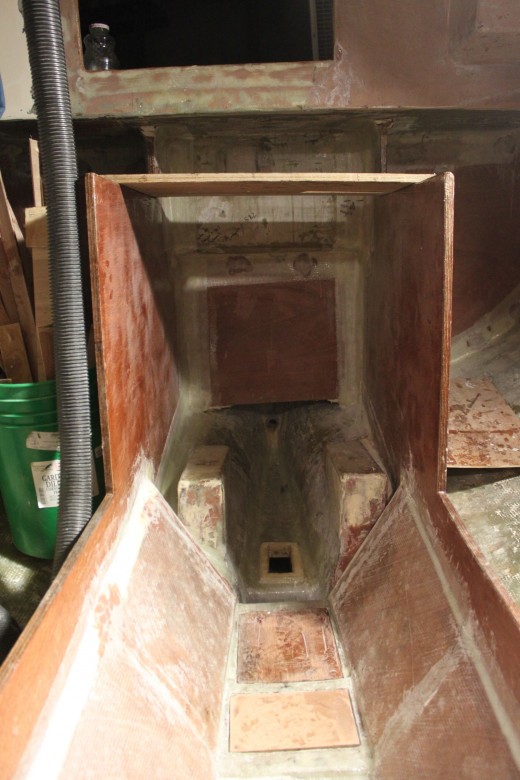
Work continues on the cabin sole. The latest development is that the “upper cabin sole” (the slightly raised area between the navigation station and galley) has been fiberglassed into place. This allows for some finishing work on the diesel tank lids as well as the drip pan.
The drip pan isn’t mentioned much in my research and I don’t know if I will really have much more to say on this topic other than what I write here. If you’re not already aware, a drip pan (as I call it) is at installed at the bottom of the companionway stairs to catch the worst drips and drops as crew members enter and exit the cabin. Here are some of the benefits of drip pans in general, plus the special features of my drip pan:
- With all drip pans, the big advantage is that loose water will (hopefully) collect in the pan, rather than spreading onto the cabin sole creating a slip hazard.
- They can also serve as a dust bin for quick clean-up.
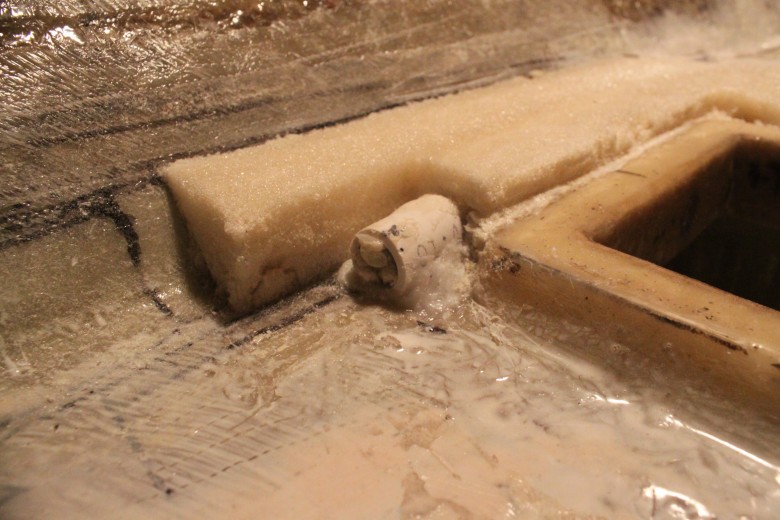
- I’ve designed my drip pan to also serve as the drainage point for the lockers in the galley and navigation station areas. As I will be able to close off drainage to the drip pan, I will hypothetically be able to collect condensation from these locker areas. We’ll see how this works, but the functionality is there.
- The drip pan drains directly into the bilge via a T-fitting to a PVC pipe that drains the bilge area forward of the drip pan. The drip pan can also be plugged with a rubber plug when necessary.
- Install PVC drainage in thickened epoxy (these drains will drain the bilge area forward of the drip pan).
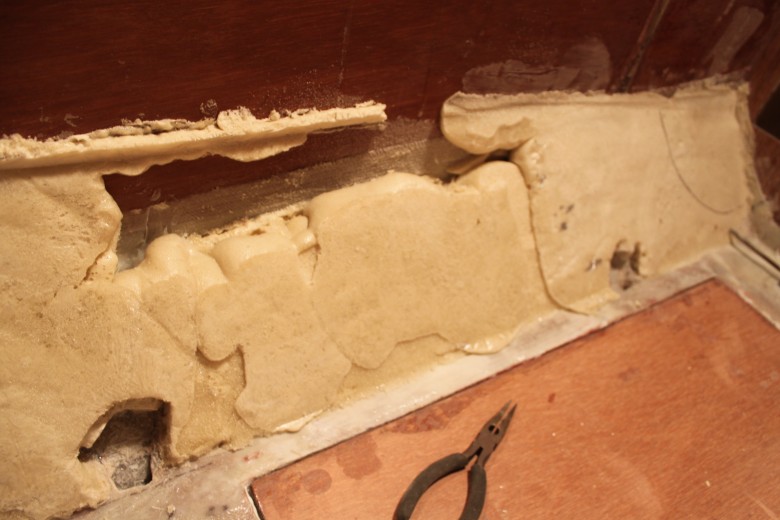
- Build mold for pour foam, then pour foam
- Carve pour foam into preferred shape. Be sure to create runways for locker drainage as well as a slope to drain directly to the pre-installed
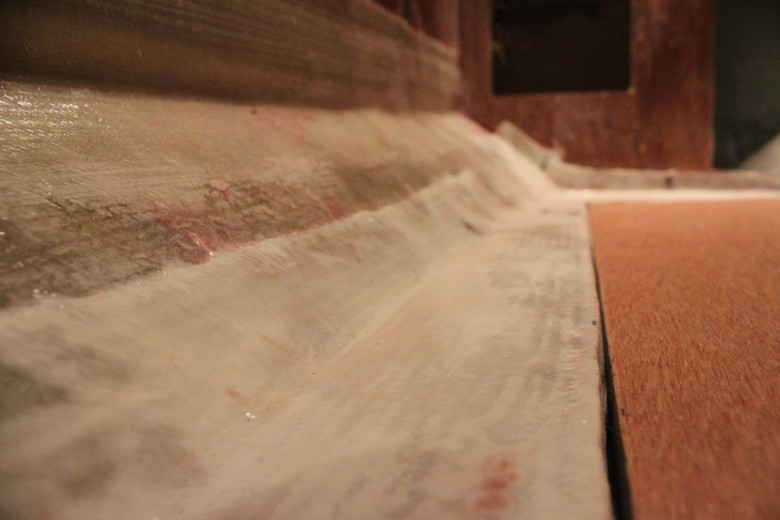
- Install Baltek cloth on all sides and sole of the drip pan. The runways draining the lockers were given 1708 biax cloth.
- Install “upper sole” (more on these steps here – http://www.bristol27.com/projects/cabin-sole)
- Fair Baltek and runways
- Paint
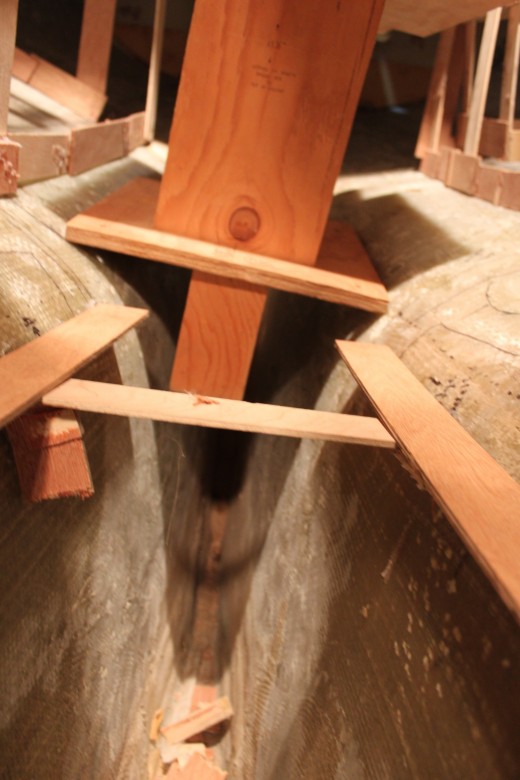
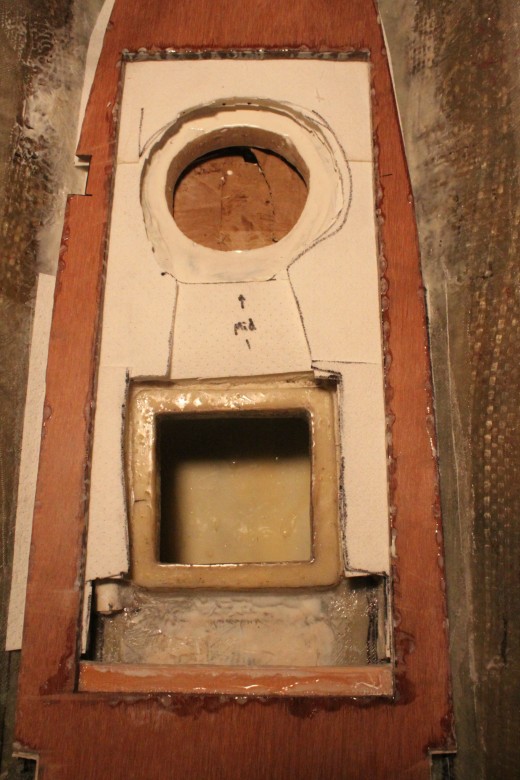
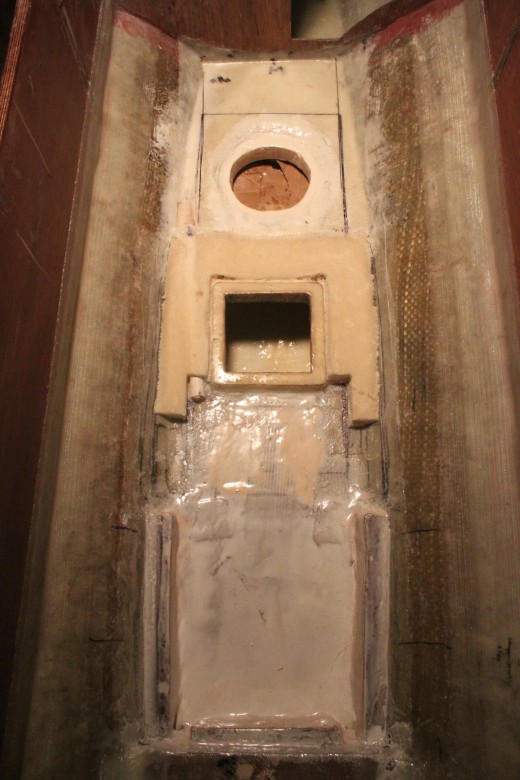
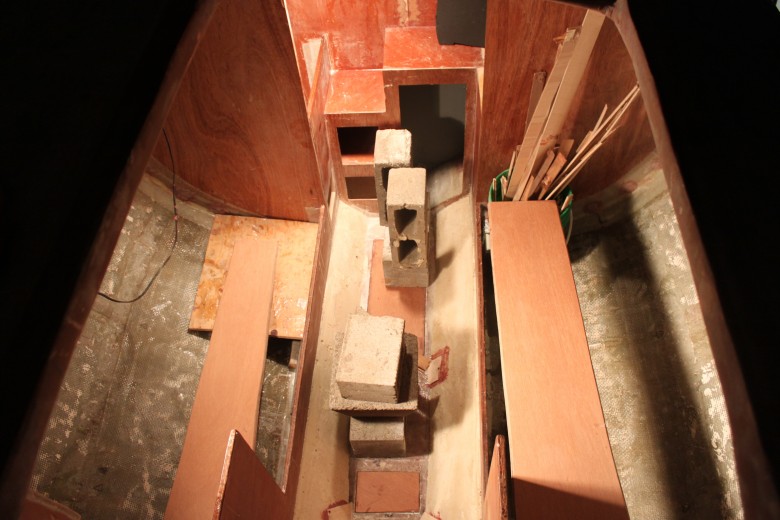
This previous weekend I thought I was ready to install the lower cabin sole, however after getting in place I realized I needed more support of the cabin sole in the middle of the boat. The solution for this was to pour foam around the forward diesel tank lid and build up flanges for the access hatch and the cabin sole to rest on.
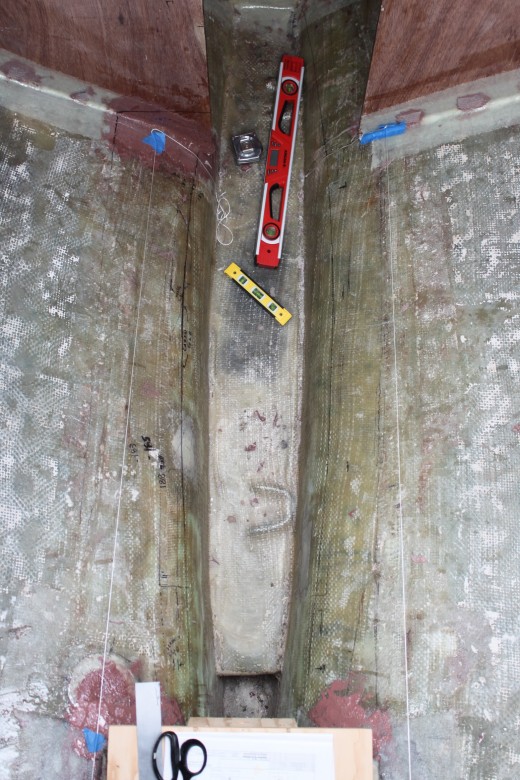
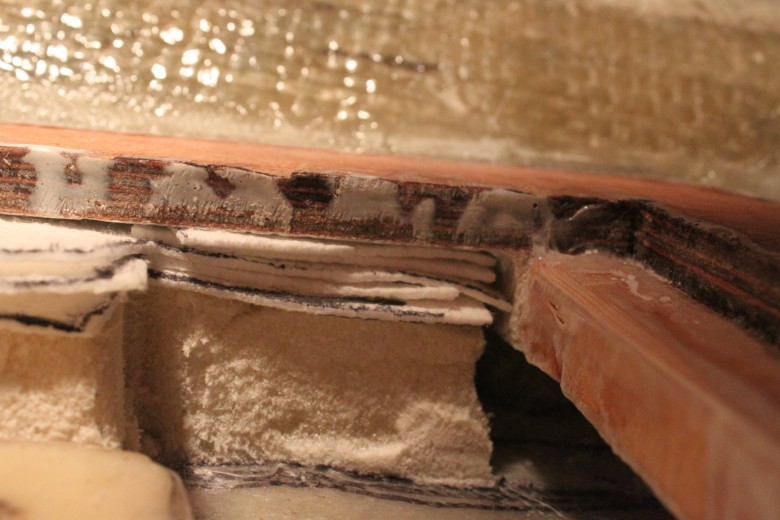
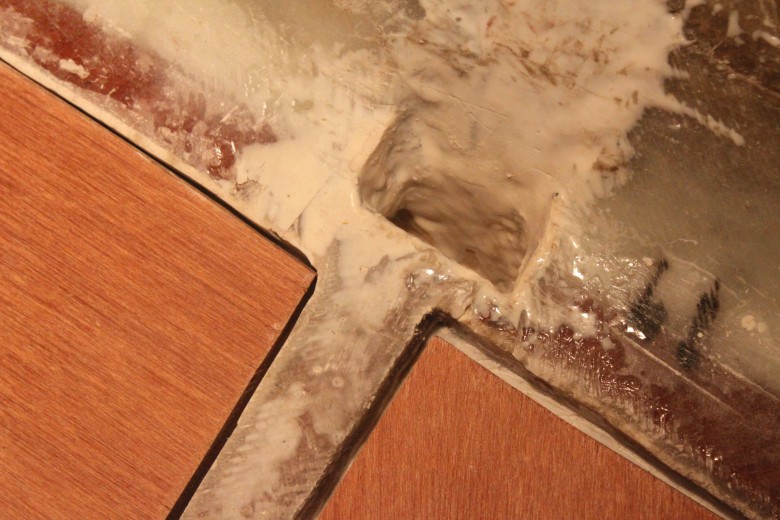
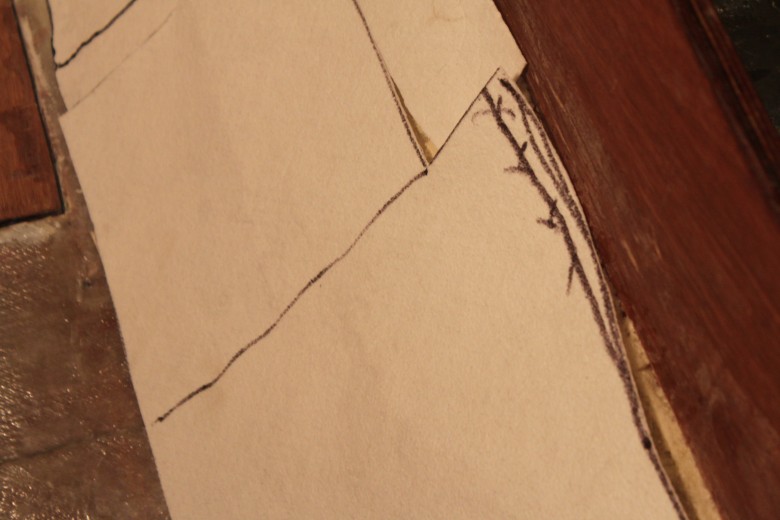
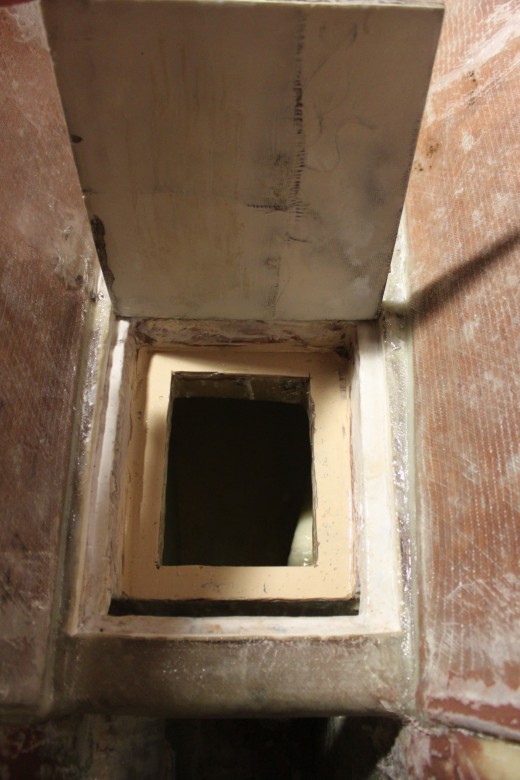
One design element of the cabin sole installation has been the drainage for the settee, galley and navigation station lockers. I wanted to give them all direct drainage into the bilge, so for each drainage point, a notch had to be cut out of the cabin sole for drainage of these lockers. I will post more images of how the drainage channels will work in the near future, but for now, here’s an image of the ‘notch’ I’m referring to:

This notch will allow for drainage from the port & starboard settees to drain into the bilge. It will be coated with several coats of epoxy and fiberglass.
July 25th, 2011
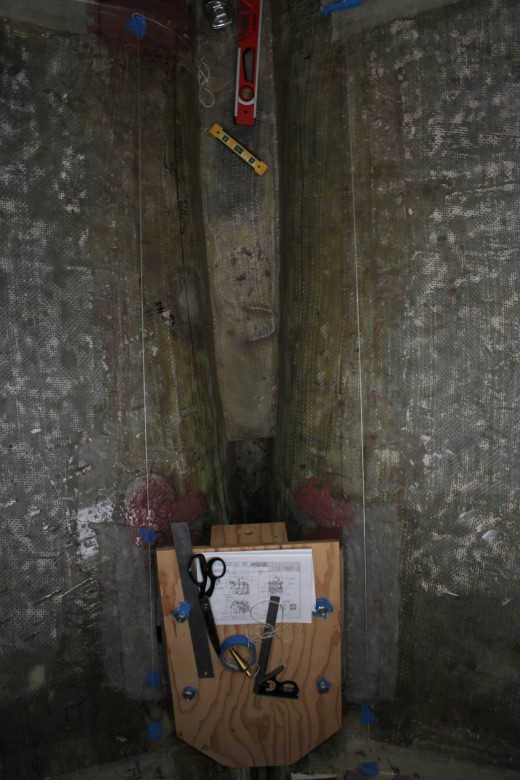
This weekend I worked to build the foundation fot the cabin sole. I finished up work on the above-sump support for the cabin sole as well as the slightly raised cabin sole area between the galley and navigation station. I’ve also foamed the area for the new drip pan that will be placed at the bottom of the companionway ladder. I’ve decided to use foam here as well so I could easily carve the drip pan to a design that would allow it to drain, as well as accept drainage from the nearby lockers.
July 14th, 2011
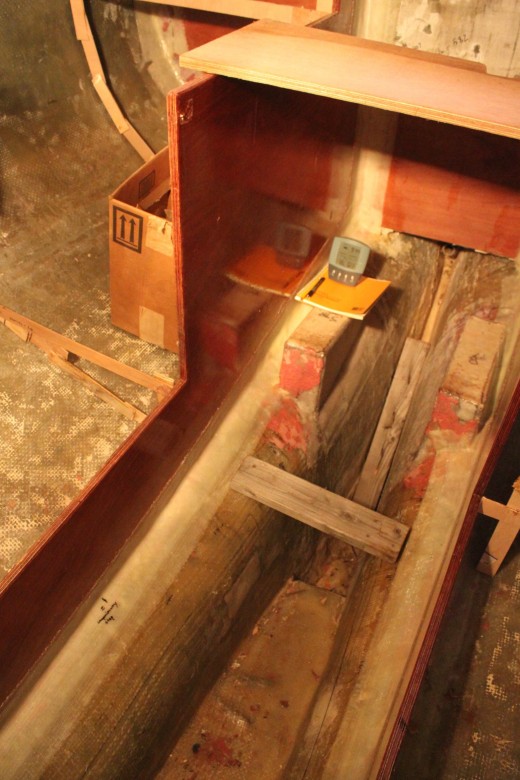
This weekend I hope to begin construction of the cabin sole. With the diesel tank in place, I will now be able to glass sole stringers on top of the tank, making way for the cabin sole to placed on top. Keep an eye out for this area to get updated in the near future with images and more project logs on how the process goes.
Research
- Plywood Sole – this type of sole requires the laying of floor timbers..about every 12 inches with a pair of longitudinal members, which must be let into the ones running athwartships.
- If there is hull flexing in the bilge areas, the cabin sole can be removed and a series of fiberglassed plywood floors added (figure 2-19). The greater the surface area they extend up the hull, and the more surface area bonded, the stronger the reinforcement. (Upgrading the Cruising Sailboat, p. 41)
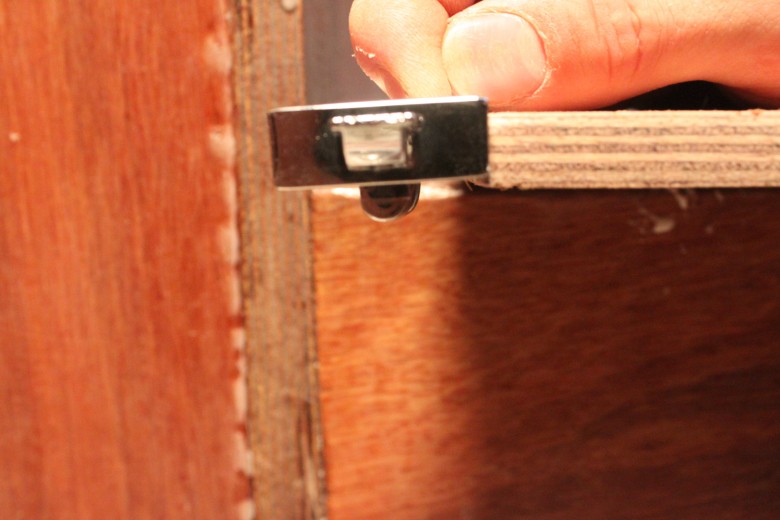
- Devise a method of securing hatch boards in the cabin sole with piano hinges, deadbolts or any other method that will keep them in place with the boat upside down and gallons of bilge water pushing against them. Do the same thing for hatch boards underneath settees. (Upgrading the Cruising Sailboat, p. 80)
- The cabinsole needs to have a reasonably nonskid surface rather than a boat show high gloss. Some people recommend proper nonskid surfaces, but these are difficult to clean and aesthetically not at all pleasing. we have found a good compromise to be a semigloss or matte polyurethane finish. True, it can get slipper when wet, but given enough handholds, we have no problems remaining on our feet in the roughest conditions. (Cruising Handbook, p. 122)
Image Gallery


Comment Form